


Has the loss of Heroku's free tier left you wondering where you can deploy small project APIs for no cost?
You've come to the right place.
In this guide, I’ll walk you through the steps needed to deploy an API to Render straight from your GitHub repo, free and with minimal effort.
Let’s get started!

Create an account on Render and go to your dashboard.
Click the New+ button.

Select "Web Service" from the dropdown menu.

Connect your GitHub account and select the repository you wish to deploy.
You should see a form pop up with prompts for the details of your project.

Name your project and enter your start command (for me it is node server.js)
Below, you should see the Free tier as the default Instance Type.
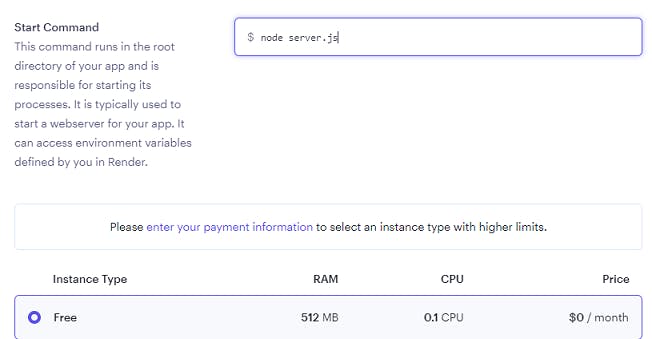
Click “Create Web Service"

You have just deployed your API 🙌

The deployment address will be displayed by clicking your API's name in your dashboard.
Assuming the code is solid you shouldn't have any issues with deployment.
If you do run into an issue, click your API's name in your dashboard and go to "Logs" in the left-hand menu. This will allow you to troubleshoot errors and potential issues.

Want to see the repo of the API I used? You can find it, here: https://github.com/jessicafuller808/nutrition-daily-values-api
If you liked this content or found it helpful, please consider subscribing to my newsletter to hear more from me.
Thank you for reading 🙏